Telephone: 408-839-5569
Email: (Click Here) Andrew@JaguarSpecialties.com
Last Update 7-2-24
XJSC- 5.7 LT1/6 speed Conversion
Part 5
Part 1
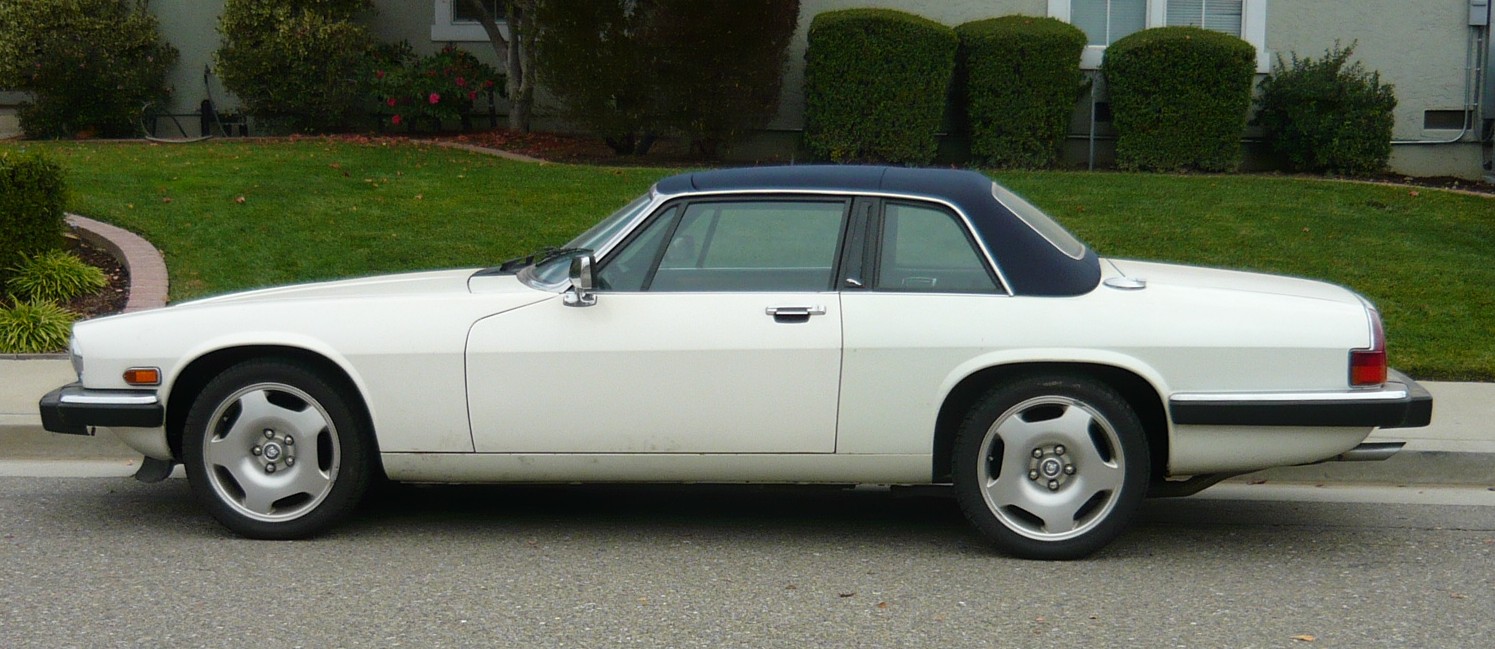
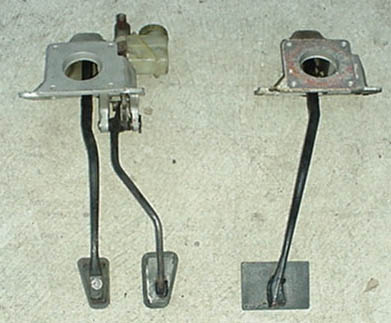
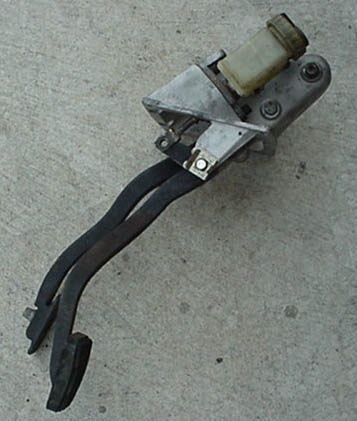
So as I've mentioned on other pages of this site, I'm planing to convert my 88 XJSC with a '97 Camaro SS LT1/6 speed drivetrain (the Camaro donor is on the"Organ Donors" page). The basic plan is to actually install the engine (using our standard Chevy-Jaguar V8 Conversion Kit) into a "mule" 85 XJS coupe, and sort out all of the mechanical details there first, and then transfer all of the hardware to the XJSC. I'm doing it this way because the 6 speed aspect of the conversion is very unusual (most V8 conversions are automatics), and I want to do all of the hacking, cutting, and prototype work on a car I don't really care about (not worry about scratches, dings, etc.,.) Also, the XJSC is still all together, and I'm planning to sell the V12 engine/trans (I'm sure any buyer would much rather hear the engine run then see it sitting on the garage floor.) The 6 speed part of the conversion will take some work. There were no V12 manual trans XJS cars sold in the US, so I had to locate a manual trans brake/clutch pedal box from the UK (the later 6 cylinder XJS cars, from 94-96 did offer a manual trans, but their pedal box is set up for ABS brakes- not compatible with my earlier car). I found the box at a UK Jaguar wrecker and he sent it over. It's basically the same as the one I have now, with just the clutch pedal added. He included the clutch master cylinder as well- very important to have, as they are $300+ here in the US, if you can find one. Here are a couple of photos of the manual pedal box next to the automatic version, and a close up of the clutch master cylinder.
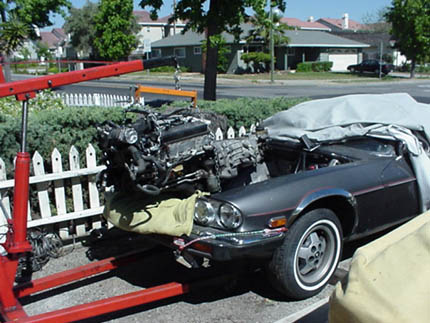
The only hitch was the (RHD, from the UK) pedal box was that the clutch and brake pedals were angled in the wrong direction for the LHD application. This was solved by heating the pedal arms and bending them in the correct places, and the new pedal box slipped right in. I was a little nervous about heating these pieces as they are cast steel, but with plenty of heat and a nice cherry red color, it seemed ok. I'll check them closely when the car is disassembled for the conversion transfer. The brake master cylinder/booster attached just as it did on the auto pedal box. The next step was to get the new engine and trans ready for the first trial fit. For this conversion, I'm trying out the Energy Suspension polyurethane engine and trans mounts. We'll see how those work out. Below are a few shots of the whole engine/trans package, and a close up of the Energy mount on the right side of the engine.
As you can see, the right mount is fairly close to the AC compressor, but I think there will still be adequate clearance for the AC fittings (the duct tape is covering the actual fitting mounting points). And then, the moment of truth:
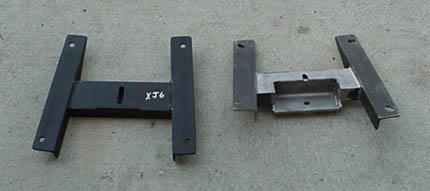
So the engine/trans actually went into the car pretty easily. Here are a few notes from that first fit: 1) The clutch bellhousing for the T56 is actually much smaller than that of a T700R4/4L60E. As a result there is no interference with the firewall heat shield (the silver fiberboard one). 2) As a result is of the additional clearance, there is plenty of room for the stock Camaro hydraulic clutch slave cylinder. 3) The LT1's seem to have plenty of oil pan clearance in the steering rack area- much more the earlier engines. 4) The T56 transmission mount is in the same fore/aft location as the T700R4/4L60E transmissions, but it is vertically lower by about 2" This required modifications to the Suncoast rear crossmember. The photos below show the modifications (a standard crossmember is shown for comparison- it's the one that's all black)
5) The T56 shifter actually comes up in roughly the right place in the XJS console. However, it has much more bulk behind the shifter, so the actual hole in the tunnel needs to be extended rearward and to the left to accommodate it. Part of this cutting is the tunnel itself, and the rest is to the tunnel cover (the Jag tunnel actually as a detachable stamped steel tunnel cover plate from the firewall to the shifter area) Once all of this was done, the engine was mounted in place and the detail work could begin. More to come in the next installment. |