Telephone: 408-839-5569
Email: (Click Here) Andrew@JaguarSpecialties.com
Last Update 7-2-24
XJSC- 5.7 LT1/6 speed Conversion
Part 1
Part 5
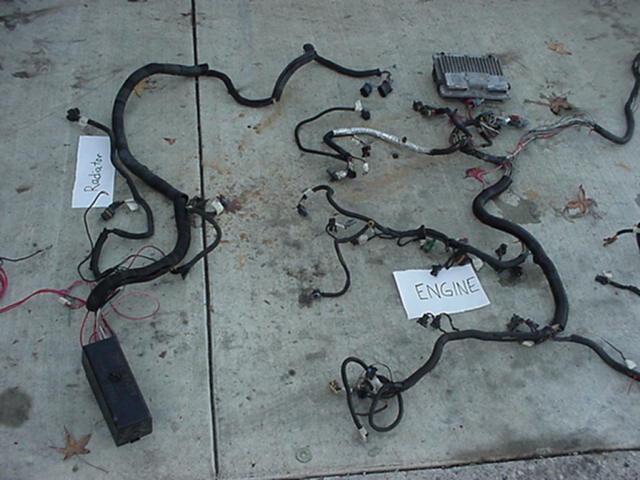
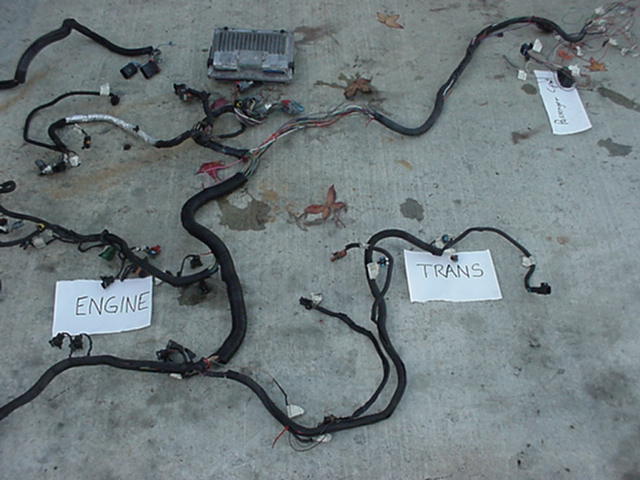
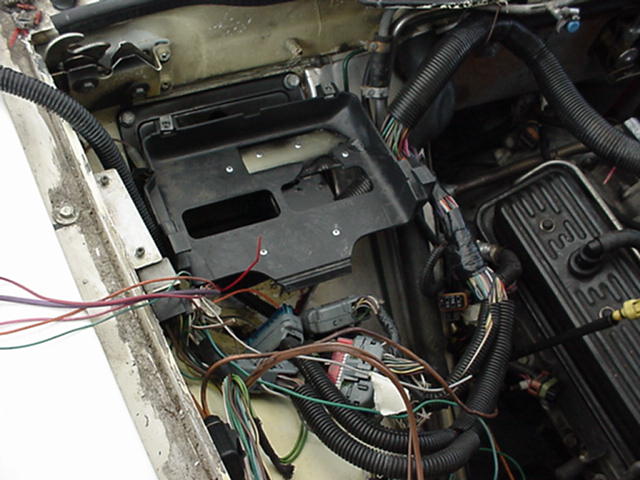
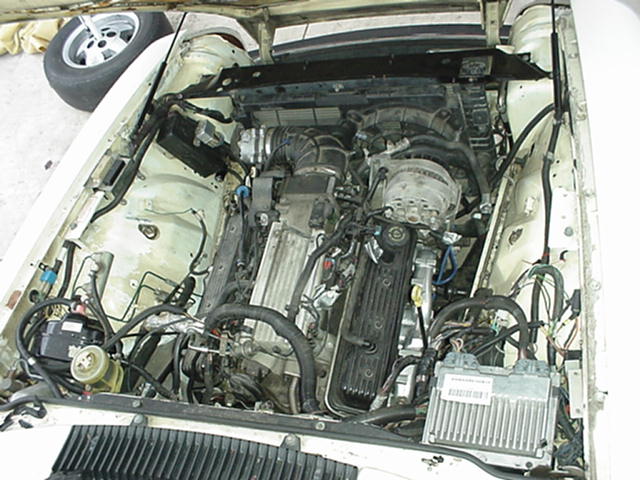
Part 3 The next big steps for this conversion are the engine wiring and cooling system. For me, these are the steps that really allow the conversion project itself to shine; when well executed, they really make a conversion look and perform like a factory installation. If not done properly, they not only compromise the appearance of the job, but also very likely the reliability of the completed car. Also included in this section are the special exhaust manifold modifications required for the LT1. Wiring Wiring Wiring…. My general philosophy has been the same as with the earlier conversions- use a stock GM harness and make the required modifications necessary for the Jag install. For starters, the Camaro engine wiring is constructed basically as a nearly stand-alone harness from the rest of the car, complete with its own fuse/relay panel and power leads. This is very different from my earlier TPI conversions that required power input from the car’s main fuse box. This difference makes the install much easier as most everything that’s needed is already in the harness- the only real changes were to remove some extra wires, but the bulk of the harness remained intact. Secondly, the Camaro and XJS have very similar engine compartment sizes, so the Camaro harness fits the XJS to a T. Some minor shortening here and there, but that’s it. The only semi-major wiring work I anticipate is lengthening the oxygen sensor leads (this engine uses 4 oxygen sensors, 4 wires each) as the Jag install will not have the catalytic converters as close to the engine as the Camaro did. That will come when the exhaust system is installed. These 2 photos show the basic harness layout sitting outside the car (the big black box in the bottom left of photo 1 is the previously mentioned Camaro fuse/relay box).
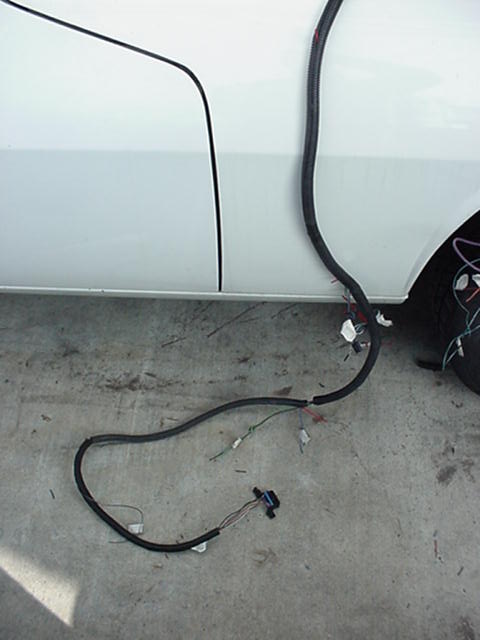
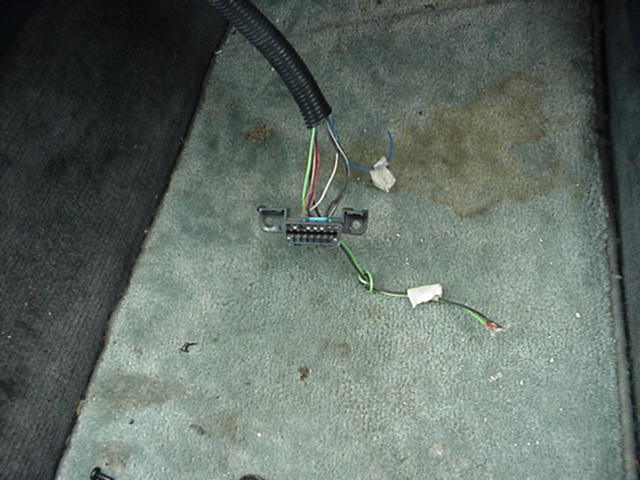
What’s very nice about the whole thing is that in the end, only about 6- 8 small wires need to run into the interior (Diagnostic connector, check engine light, fuel enable signal- VATS, and reverse light wiring). This makes for a very clean install, and that small bundle can follow the route of the original XJS injection harness into the interior. This next shot shows the small bit of harness that will go to the interior, before it’s routed, and then after. This harness section follows the path of the original Jaguar fuel injection harness into the XJSC interior. Here’s a couple of photos of that harness section before routing to the interior, and after. It’s such a small group of wires that stringing it into the passenger compartment was a snap.
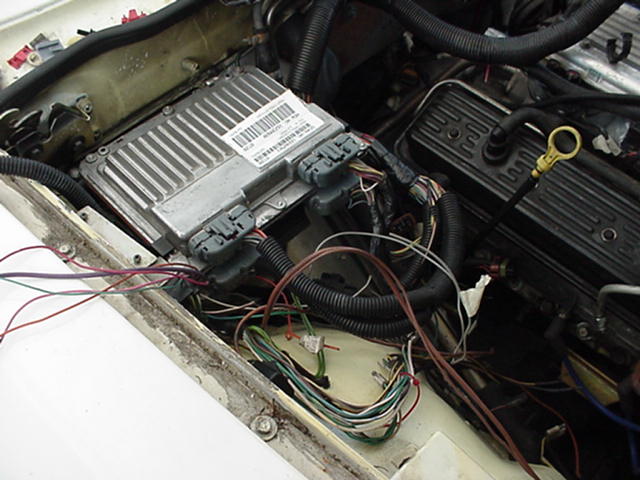
I decided to put the ECM (or PCM in this case) in the same basic position as it was in the Camaro- right rear corner of the engine compartment. The original XJS windshield washer bottle mount bracket in that area was modified to hold the OE Camaro PCM cradle (black plastic) and the PCM fits nicely. I figured this position would be ok as it should relatively cool and away from the engine (I may add a heat shield if it turns out warmer than I expect). The washer bottle will be moved to the right front and everyone will be happy. These next photos show the bracket location and the PCM installed (note- in the photo the PCM looks closer to the engine than it really is..)
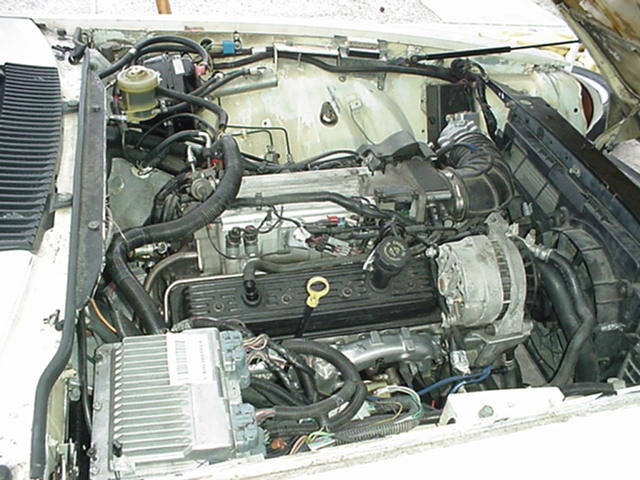
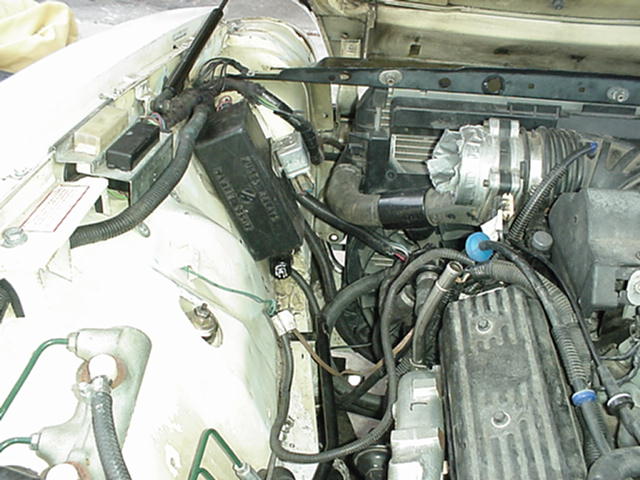
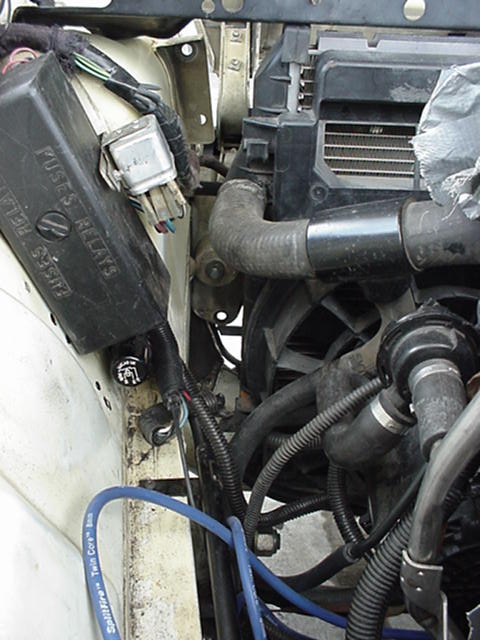
As far as general engine function wiring (oil pressure, water temp, AC compressor clutch signal, starter, alternator, etc.,.), Jaguars are typically laid out with the fuel injection harness as one unit, and a separate harness dedicated to these basic harness functions. GM on the other hand, tends to route everything together, and then separate it once inside the interior. In the past (on the TPI conversions), I tended to keep that basic Jag harness separate, and run it alongside the new (TPI) harness. On this car, I decided to use the GM method and keep it all together. All of the basic engine function wiring on the new LT1 wiring harness remained within it, and were then spliced into the XJSC wiring in the right fenderwell (where that original Jaguar general harness ran into the body). This made for a cleaner installation, and really was no more work than the previous method. Don’t worry- we’re not talking about a ton of splicing here- only about 8 wires. The final pictures in this series shows the nearly completed engine compartment wiring. The first photo is an overview of the installation and the detail shows the OE Camaro relay/fuse box mounted in the left front corner of the engine compartment.
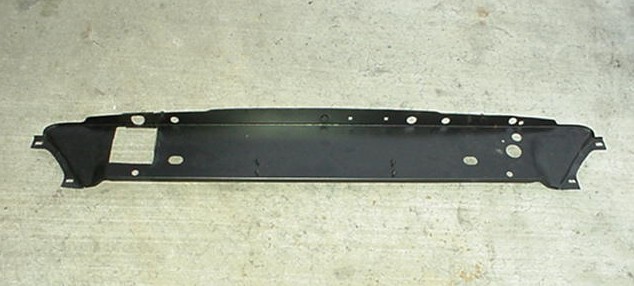
Radiator and Cooling For several years now, I’ve been totally sold on the OE GM plastic aluminum radiators as optimum for great fit, cooling, and reliability in these conversions. And it appears the newer Camaro LT1 radiators will be no different. Following the same philosophy as before, I found that the OE 97 Camaro radiator that came from my donor fits the XJSC (and also all XJS cars) perfectly. Only minor modification to the header plate was to add an opening for cap access and a hole for the overflow tube routing were required. The original Camaro rubber radiator isolators were glued to the top of the lower radiator support, and the underside of the header plate-with the header plate installed, the radiator is snug in position and fits great. What’s nice about these later units is that they already have attachment points for the fan/fan shroud assembly on the tanks, so those pieces slip right into place, just as they did on the Camaro. Since the basic engine compartment dimensions of the Camaro and XJSC are very similar, even the stock radiator hoses for the LT1 will fit. No corrugated flex hose here. The only real fabrication that needs to take place is for a water transfer pipe for the heater to be made for the right side of the engine compartment. This is actually simple, as the XJS when it had a V12 had a similar pipe on the left side (as a heater return line), so that exists as a pattern. The LT1 heater feed hoses originate at the right front of the engine, so feeding one to each side (left and right) of the engine compartment is no problem. The first photo shows the modified radiator header plate (square opening for radiator cap, and hole behind it for overflow tube), and the second photo shows the radiator installed, along with the OE Camaro twin electric fan hardware.
A side benefit of using the original Camaro radiator is that it is slightly narrower than the Jaguar radiator aperture. Taking advantage of this, I mounted the radiator off to the right side of the opening leaving a larger gap on the left side,. This will allow me later to plumb more of a fresh air intake to the (soon to be installed) air cleaner/air box. Cool intake air equals more power. Here’s a close up of that open area to the left of the radiator.
Next update will have fuel system, exhaust hook-up, emissions, air cleaner, etc.,. |