Telephone: 408-839-5569
Email: (Click Here) Andrew@JaguarSpecialties.com
Last Update 7-2-24
|
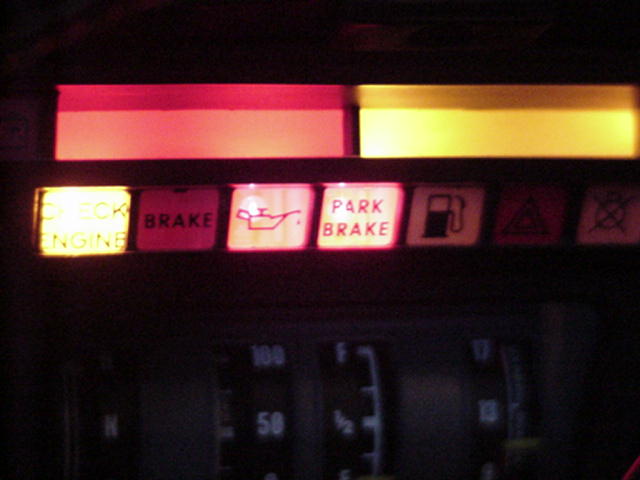
Tech Tip #7- Jaguar In-Dash Check Engine Light for Computer Controlled Conversions Nearly all computer controlled vehicles use an in dash “check engine” light to signal the driver that something is wrong under the hood. This is a useful feature, and some systems even use the light itself as a diagnostic support tool, to help find the problem and resolve it. For any Jaguar conversion using computerized engine control, there is a very simple and neat way to put this light in the dash, giving a factory appearance. This eliminates the need for drilling holes or mounting aftermarket lamps elsewhere in the dash, etc.,. The details of this tech tip will apply to 80-87 XJ6 and 76-92 XJS models. These models originally came equipped with a system that monitored the coolant level in the surge tank, and turned on a yellow light in the dash cluster if the level fell below a certain point. A small electronic unit (called the “low coolant unit”), black in color, and about the size of a roll of quarters has the task of illuminating the light. When we do a conversion on these models, the original surge tanks are removed. However, the dash light and the remainder of the system, remain in the car. From here the system can be slightly modified to work as a “check engine” light for the new GM computer. The general logic for the new GM computer is that it grounds a wire to the check engine light to turn it on. The other lead from this lamp is ignition hot, and that is exactly the same logic the Jag low coolant unit uses to turn on the low coolant light. The following steps are followed to get the basic “check engine” light system working:
The last step here is purely esthetic, and that is to change the dash lens from a coolant symbol to a “check engine”. To do this, the warning lens cluster will need to be removed (on XJ6, just grab and remove straight back from the dash; on XJS, a black plastic cap on each end of the warning cluster, or strip, is removed revealing a screw underneath on each side, holding the strip in place to the dash cluster). Remove the low coolant lens, and what I usually do then is find a dash cluster in the junkyard with approximately the same size “check engine” lens in it. This will may involve trimming (with scissors) the lens cluster to get your new “check engine” lens the correct size to installed in the Jag cluster. Install the new lens and the reinstall the warning lens cluster in the dash. Now your car is a very factory looking check engine light. Note: For the 88-94 XJ6 (XJ40 models), the instructions are a bit more simple:
|
